None found
Your search returned no hits.
95% of all problems already have a solution in our knowledgebase

Added: 10.03.2014 23:26:29 Last updated: 11.05.2019 14:34:50
This guide explains how to set up auto responder for email in cPanel. This can also be set up by logging into webmail.
The guide requires you to first log into cPanel.
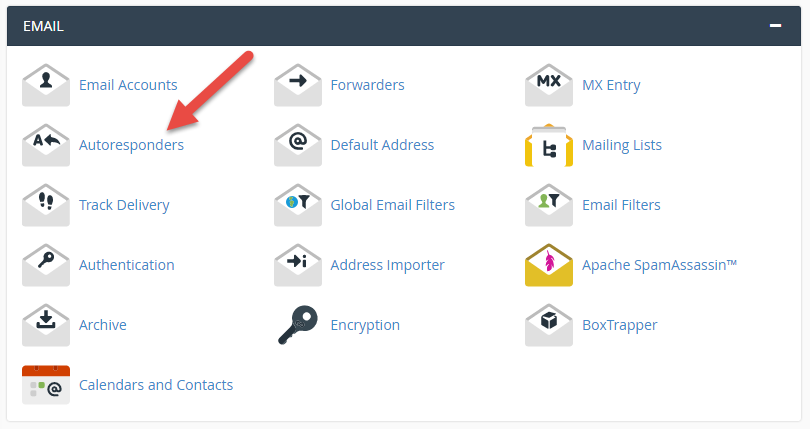
Step 1:
Click on the "Auto Responder" icon as shown in the screenshot below:
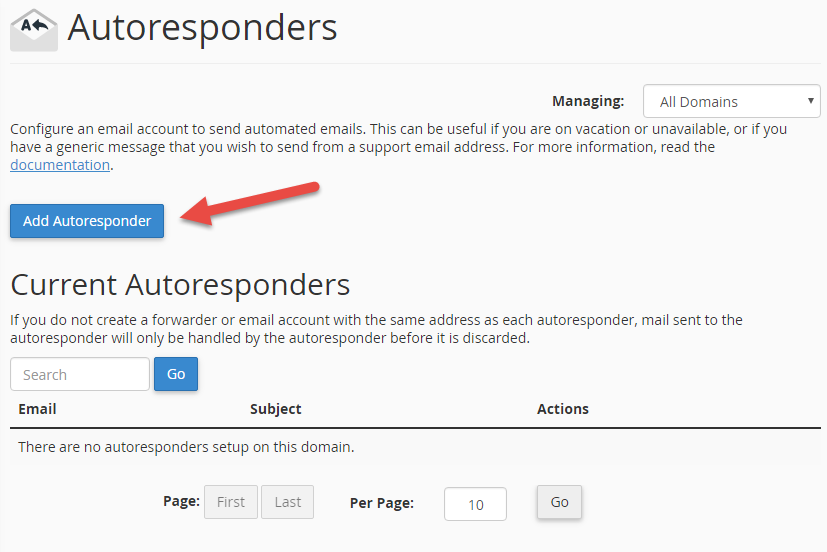
Step 2:
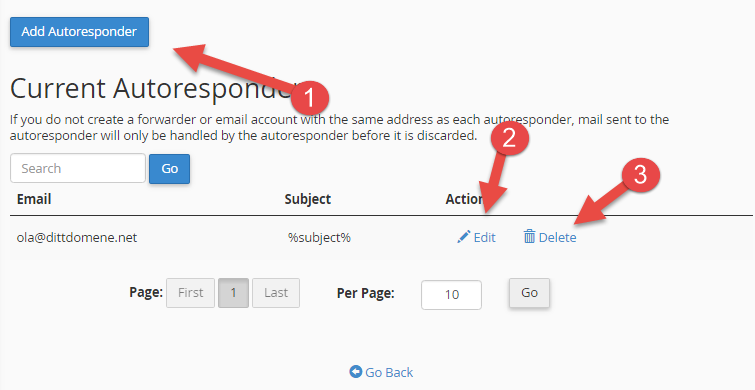
To set up auto responder for a given email address, click on the "Add Autoresponder" button.
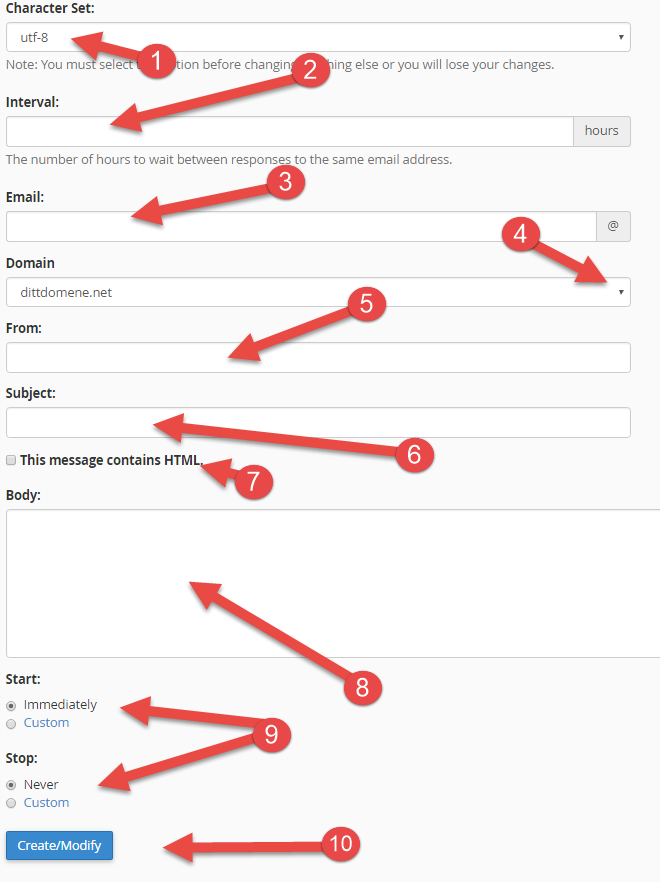
Step 3:
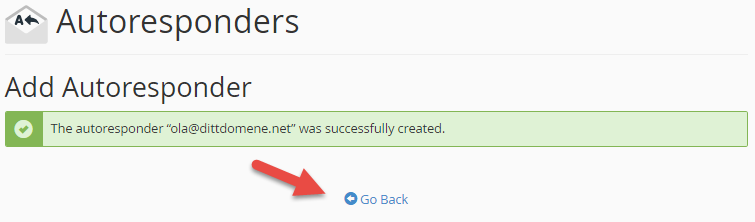
Step 4:
You have now set up your first auto response email. To return to the overview for auto response emails, click on the "Go back" link.
Step 5:
In the overview for auto response emails, you will now see a list of all the emails for which auto responders have been set up.
Done
We have now covered the steps required to easily set up an auto responder for an email address. We have also seen how we can easily edit and remove an auto responder again.