None found
Your search returned no hits.
95% of all problems already have a solution in our knowledgebase

Added: 19.03.2021 23:32:52 Last updated: 03.12.2021 13:16:20
This guide will show you how to add DMARC to your domain in cPanel. Before you start this, you need to login to your cPanel account.
Step 1:
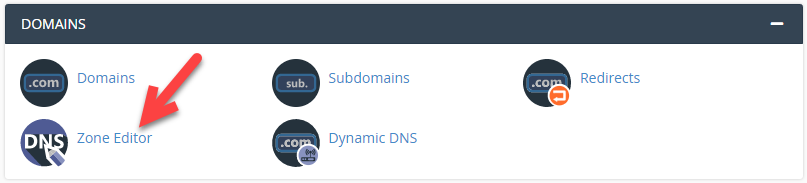
Click on "Zone Editor" in cPanel.
Step 2:
Find your domain in the list and click "Manage".

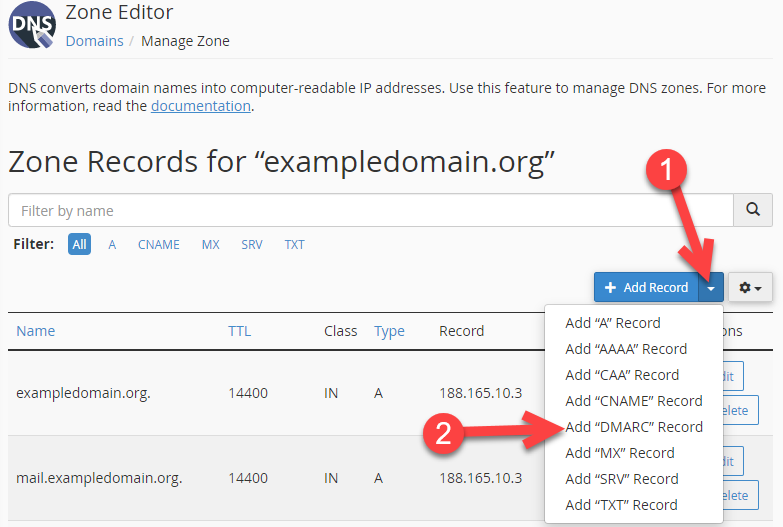
Step 3:
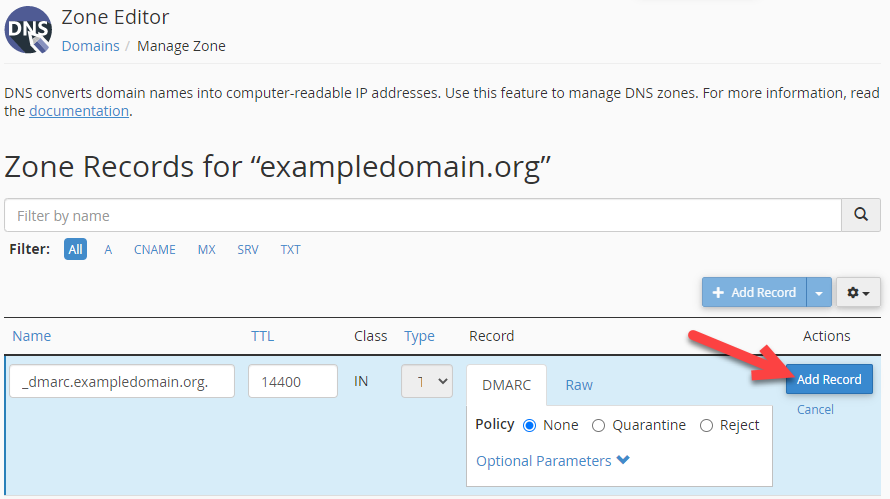
Step 4:
Choose the policy you want and then click "Add Record". We recommend that you setup a policy that does not reject when you first activate it so that you can verify that the filter works as expected before changing to reject emails.
A green box in upper right corner will show when it's added.
Completed
We have now been trough how you can add a DMARC record in DNS in cPanel.